A problem that we face everyday is creating CRUD interfaced for our databases. Creating a CRUD interface is always a boring and tedious job. Even if you want to initialize your data, you may break something by mistake if you use SQL Server Management Studio, because it doesn't know anything about your business rules. Django_ - A web framework for Python_ - gives you the solution. It has an application called "Django Admin" that provides a customizable, production-ready, nice-looking UI on top of your DB. If you want to see the final results, see the screenshots at the end of the post.
Setting the environment
- Install Python 2.5 or newer.
- Install Django 1.0 or newer.
- Download and install pyodbc. You should install the one that is compatible with your version of Python, e.g. if you installed Python 2.5, you should select pyodbc-2.0.58.win32-py2.5.exe.
- Checkout django-pyodbc from
http://django-pyodbc.googlecode.com/svn/trunk/ using a Subversion
client, then you should move the directory
sql_servertoC:\Python25\Lib\site-packages\.
Creating the Django project
A Django application is a complete component, including the DB model, views and templates. Good examples of Django application are user registration, tagging, search, etc. You can find a lot of reusable applications on http://www.djangopackages.com/. A Django project is a group of application that works together. Now you have the environment setup for Django. The next step is creating a new Django project. On the console, write this command
C:\Python25\Lib\site-packages\django\bin\django-admin.py startproject sqlserveradmin
Then create an application using this command:
manage.py startapp mydb
To add the application to the project. You must change INSTALLED_APPS
in settings.py to include the app.
INSTALLED_APPS = (
   'django.contrib.auth',
   'django.contrib.contenttypes',
   'django.contrib.sessions',
   'django.contrib.sites',
   'mydb',
)
Setting the database
Now you have the project in place. You need to modify settings.py to
point to your DB. Change these fields to be
DATABASE_ENGINE = 'sql_server.pyodbc'
DATABASE_ODBC_DRIVER = 'SQL Native Client'
DATABASE_NAME = 'db_name'
DATABASE_USER = 'webapp'
DATABASE_PASSWORD = 'sikrit'
DATABASE_HOST = r'test_server\SQLEXPRESS'
Generating DB models
On the console, run the following command
manage.py inspectdb > inspected_models.py
This will generate Python models for your tables. Unfortunately, they are not arranged. To arrange them, use the script that I posted to http://www.djangosnippets.org/snippets/1203/.
rearrange_models.py inspected_models.py models.py
Use the new models.py to replace the old one in the folder mydb.
Installing the admin
To install the admin, you need to add the following line to INSTALLED_APPS in settings.py. It should look like
INSTALLED_APPS = (
    'django.contrib.auth',
    'django.contrib.contenttypes',
    'django.contrib.sessions',
    'django.contrib.sites',
    'django.contrib.admin',
    'mydb',
)
then run this command to add the tables necessary for the admin to work.
manage.py syncdb
It will ask you to add a superuser. This superuser will allow you to access the admin.
You need to tell Django what models that you need to be viewed in the admin. For our case, we want to view all the tables. I will use a little bit of Python magic to add all the models to be viewed in the admin. Put the following code in a file called admin.py in your application folder.
from django.contrib import admin
from django.db.models import Model
import models # This is your models' module
for m in dir(models):
   class_ = getattr(models, m, None)
   if class_ and isinstance(class_, type) and issubclass(class_,Model):
      admin.site.register(class_)
Congratulations. We are done.
What you can do more
- Change the templates used to view the UI.
- Customize the names of the models and fields, for example you can supply correct pluralization.
- For enums, you can specify the available choices, and the admin will view it as a drop down.
- You can add more users to the admin, and specify their permissions.
- And a lot more. See http://docs.djangoproject.com/en/dev/
I hope this wets your appetite for learning Django.
Screenshots
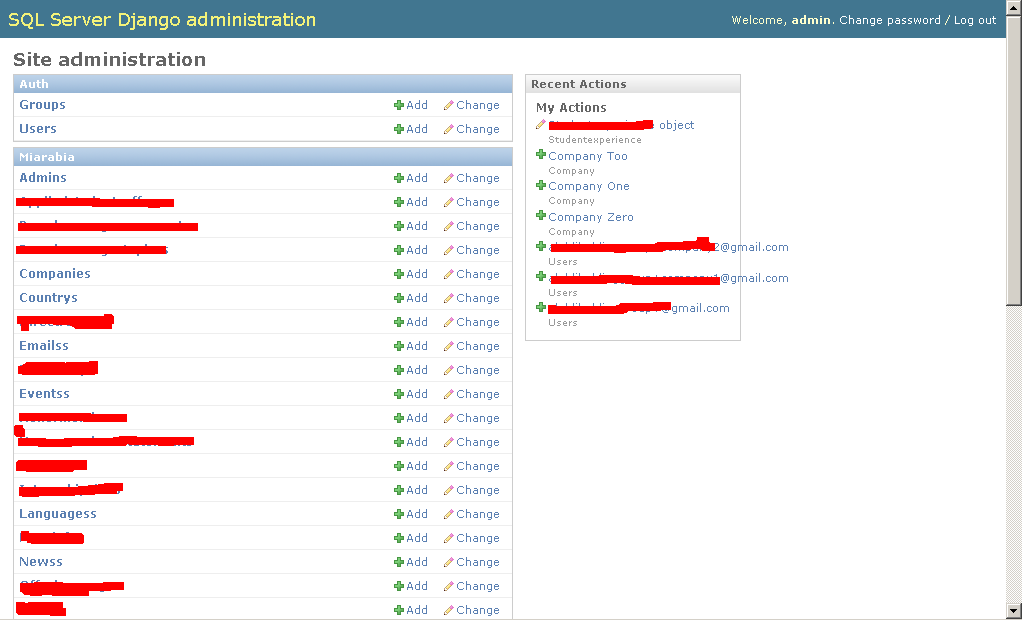
The home page. I had to remove everything that reveals the application. As you can see, Django admin also stores a history of changes.

This is the view for students. I customized it a little bit to view students' emails, but you can customize it more.

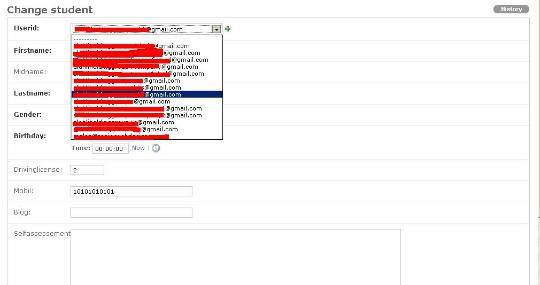
This is the form to change the student. The "UserId" is a foreign key to the "Users" table. Django admin is smart enough to grab them for your. If you want to add a new user, you can add it by clicking the small "+" sign beside the drop down list.

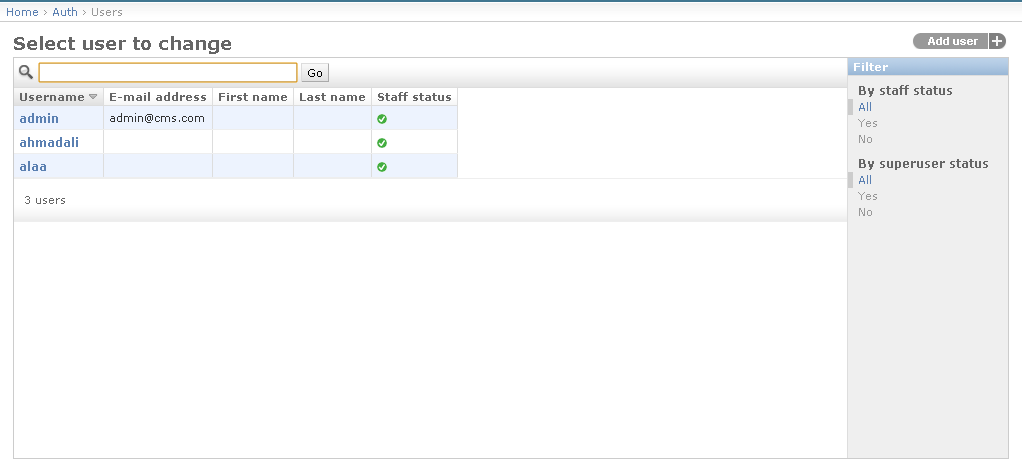
This shows the screen for users in the "Auth" application (which is added by Django itself). This shows a more advanced listing: you can select the columns that will be displayed, with sorting. You can add filters (on the right), and you can add search also.

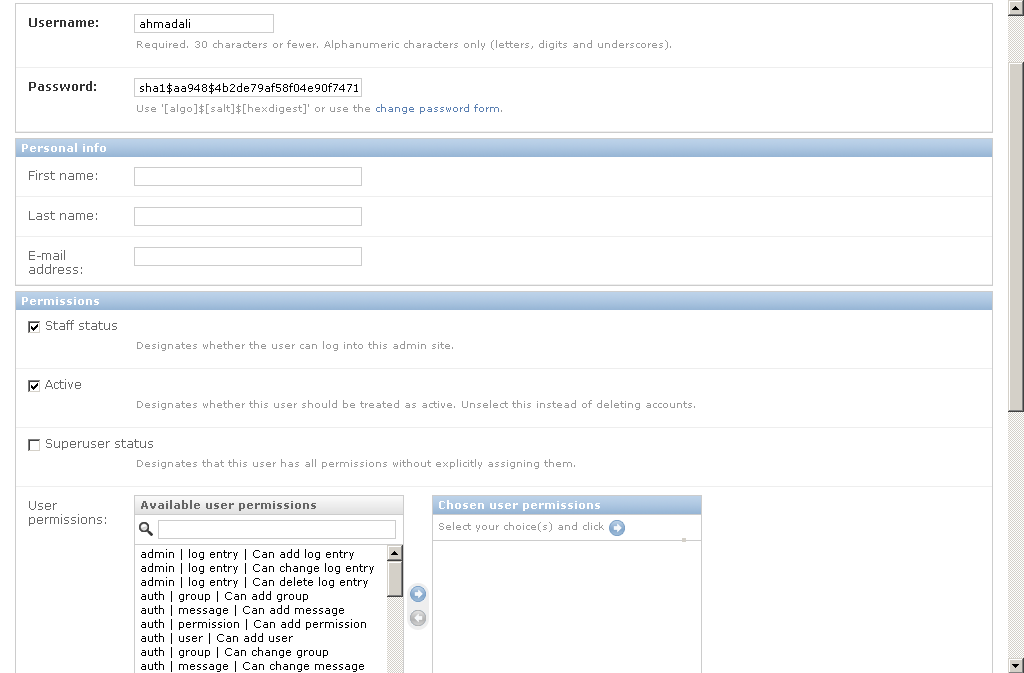
This is the form for editing users.

Comments
comments powered by Disqus